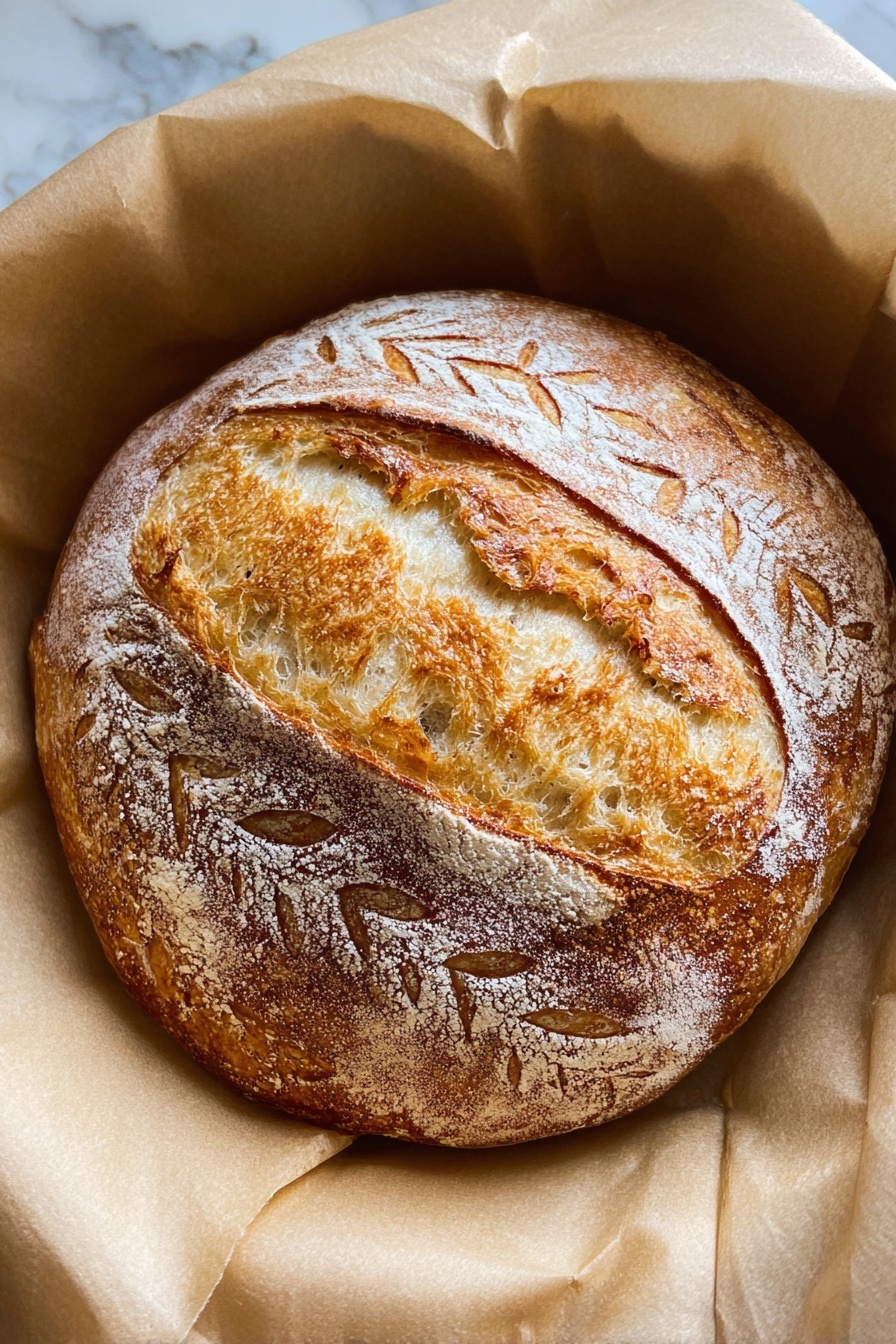
If you’ve ever wanted to bake bread at home but felt intimidated by the process, I have a game-changer for you: Overnight Sourdough Bread Recipe. This method is hands-off for the most part, letting time do the heavy lifting to develop incredible flavor and texture. I absolutely love how this turns out—crusty outside, airy inside, and with that signature tang that only sourdough can deliver. Stick around because I’m going to walk you through everything so you can nail this no-fail recipe in your own kitchen.
Why You’ll Love This Recipe
- Simple Ingredients: You only need a few pantry staples, which makes baking approachable even for beginners.
- Hands-Off Rising: Letting the dough rise overnight fits perfectly into a busy schedule without stress.
- Delicious Flavor: Using an unfed sourdough starter gives your bread that authentic tangy depth that’s truly addicting.
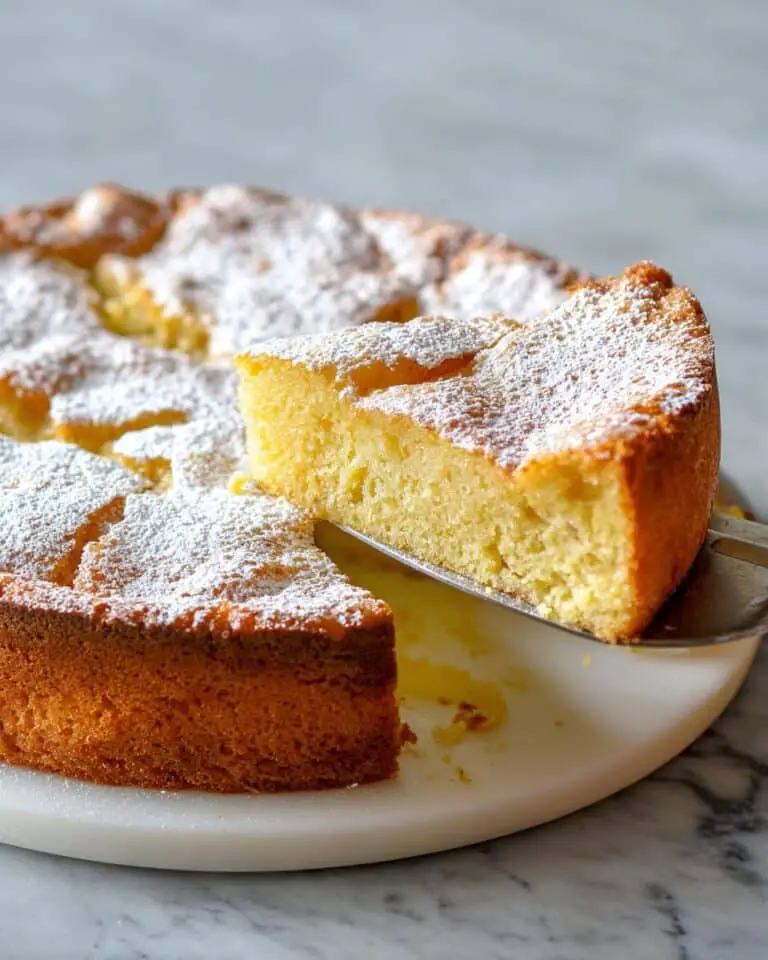
- A Beautiful Crust and Crumb: The method creates a crusty, golden loaf with lovely open holes inside—just like artisan bakery bread!

Ingredients You’ll Need
Getting the right ingredients can really help your overnight sourdough bread turn out perfect every time. The basics are straightforward, and I’ll share a few tips to bring out the best in each one.
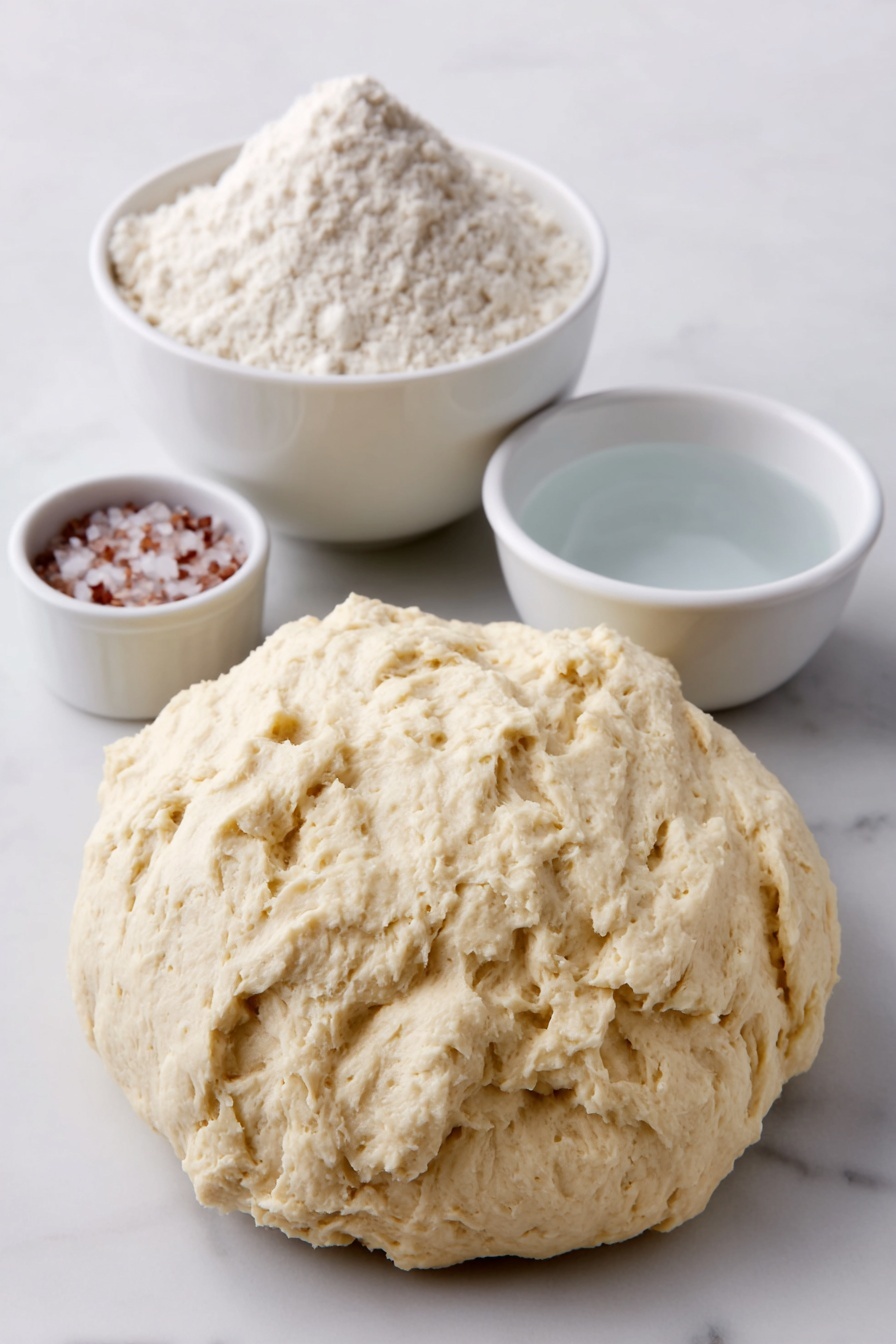
- Sourdough Starter: Make sure your starter is active and bubbly; using an unfed starter brings a delightful sour tang to the bread.
- All-Purpose Flour: The backbone of your dough—this flour gives a nice balance of protein for gluten without being too heavy.
- Salt: It not only seasons but also strengthens the dough structure, so don’t skip it!
- Water: Lukewarm water helps activate the fermentation without killing your starter’s good bacteria.
Variations
One of the best things about sourdough bread is how adaptable it is! I encourage you to make this Overnight Sourdough Bread Recipe your own by experimenting with mix-ins or different flour blends.
- Whole Wheat Addition: I love swapping up to 50% of the all-purpose flour for whole wheat for a nuttier flavor and more complex crumb.
- Seed Mix-Ins: Toasted sunflower seeds, flax, or sesame add crunch and a great boost of nutrition.
- Herb Infusion: Adding fresh rosemary or thyme to the dough brings an aromatic twist my family goes crazy for.
- Gluten-Free Adaptation: While traditional sourdough needs gluten, you can use gluten-free starters and flours—just be prepared for a different texture.
How to Make Overnight Sourdough Bread Recipe
Step 1: Mix and Hydrate Your Dough
The night before you want to enjoy your bread, combine your sourdough starter, flour, salt, and water in a large bowl. I like to use my hands here—trust me, it’s way easier and you get a feel for the dough. It’ll seem really wet and shaggy—that’s exactly what you want. After mixing, cover it with a towel and let it rest for 15 minutes. This rest allows the flour to fully hydrate, which makes your dough easier to work with later.
Step 2: Perform Stretch and Folds
Now for the magic: folding the dough. Wet your hands (this stops sticking), pick up a corner of the dough, and fold it over itself. Rotate your bowl slightly and repeat about 15 times. You’ll notice the dough getting stronger and less stretchy—it’s building up gluten structure. Cover it again, rest 15 minutes, and repeat the folds one more time before leaving it out overnight to rise. This method is key to getting that lovely open crumb we all want.
Step 3: Morning Fold and Shaping
The next morning, your dough should be bubbly and risen—don’t worry if it looks a bit loose. Wet your hands again and gently lift the middle of the dough, tucking the ends underneath to tighten the shape. Rotate your bowl with each fold. After a few folds, transfer your dough onto a parchment-lined, floured bowl (called a banneton substitute) and sprinkle the top with flour. Pop this bowl into the fridge for 5 hours to chill — this resting time makes baking easier and the crust more even.
Step 4: Preheat and Prepare to Bake
Set your oven to 500°F (I love convection for an even bake) and place your Dutch oven inside to heat up while it preheats. This step is crucial to get that crispy crust—baking the dough in a hot, covered pot traps steam so your loaf can expand without drying out.
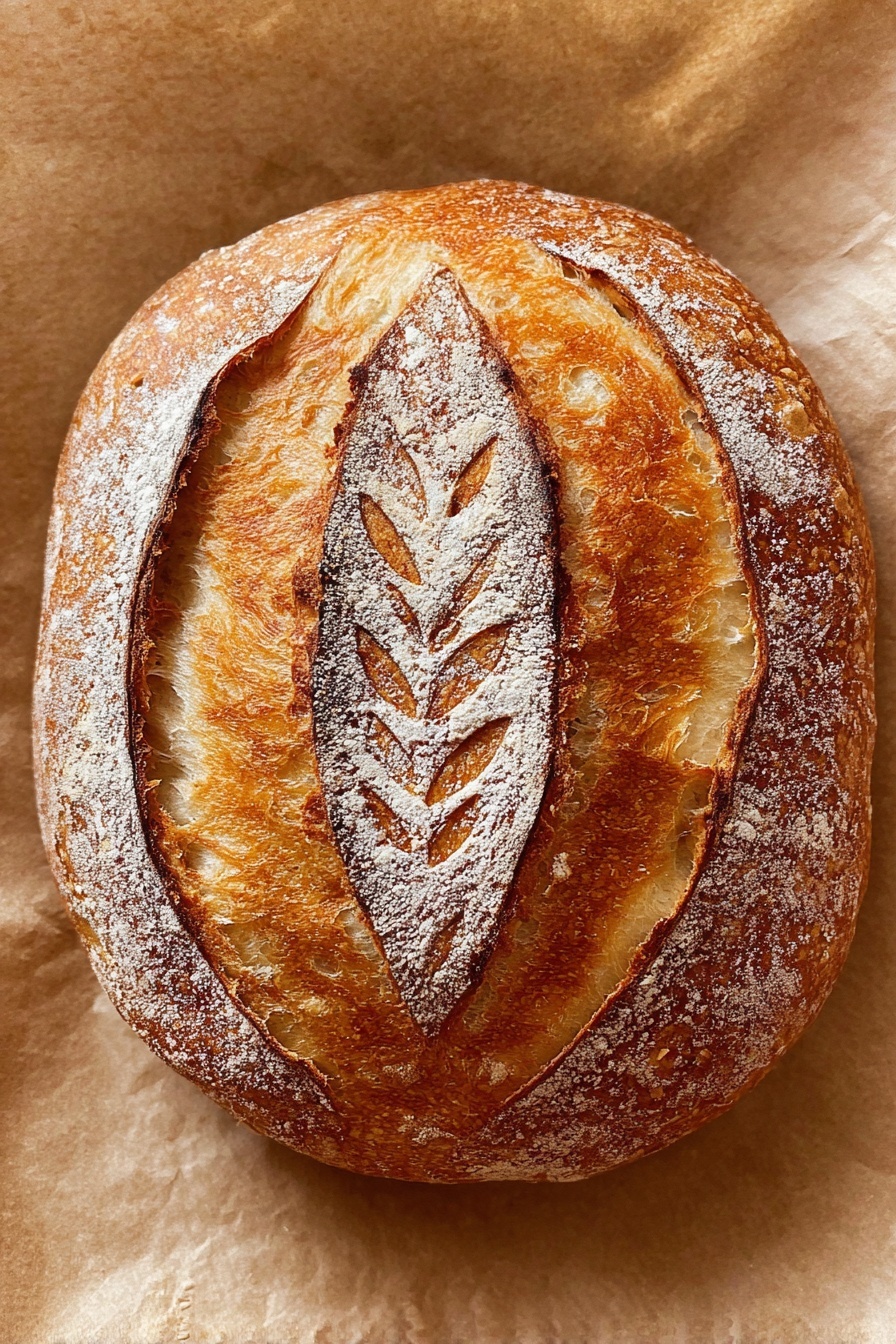
Step 5: Score and Bake Your Loaf
Once hot, take your dough from the fridge and carefully invert the parchment holding it into the Dutch oven. Use a sharp knife or lame to score the dough however you like—my go-to is one long slash down the center with a few smaller slashes on the sides. Cover with the lid, bake for 25 minutes, then remove the lid and drop the temperature to 450°F. Bake uncovered for another 12 to 14 minutes to caramelize that crust perfectly.
Step 6: Cool and Enjoy
After baking, resist the temptation to slice immediately! Let your bread cool on a rack for at least an hour—this finishing step allows the crumb to set so every bite melts in your mouth. Your patience will be rewarded with an absolutely stunning loaf that smells as good as it tastes.
Pro Tips for Making Overnight Sourdough Bread Recipe
- Use Unfed Starter for More Tang: I discovered this trick when I wanted a stronger sour flavor—using unfed means your bread has that signature tang everyone loves.
- Wet Your Hands Before Handling: It makes working with sticky dough a breeze and keeps the loaf looking clean instead of raggedy.
- Don’t Rush the Cooling: Waiting at least an hour before slicing really improves the crumb texture—try not to give in to temptation!
- Choose the Right Dutch Oven Size: I had better results with a snug Dutch oven, which helps steam the bread properly to get that crusty exterior.
How to Serve Overnight Sourdough Bread Recipe
Garnishes
I like to add just a light sprinkle of flaky sea salt or a touch of garlic butter on warm slices. Sometimes, a brush of olive oil and a few crackles of cracked black pepper make it perfect for dipping into soups or stews. These simple garnishes enhance the sourdough’s rich flavor without overpowering it.
Side Dishes
This bread pairs beautifully with classic tomato soup, a hearty chili, or a fresh garden salad. My family especially loves it alongside a roasted garlic hummus spread or as the base for avocado toast, which makes for a quick and satisfying meal.
Creative Ways to Present
For special occasions, I like to turn this loaf into a rustic bread bowl—just hollow out the center and fill with creamy soup or dip. Another fun idea is slicing it thick, toasting, and layering with fresh mozzarella, heirloom tomatoes, and basil for an elevated bruschetta platter that guests always rave about.
Make Ahead and Storage
Storing Leftovers
I store leftover sourdough wrapped loosely in a linen cloth inside a bread box or airtight container. This keeps the crust from getting too hard while preventing the crumb from drying out. It stays fresh for about 3 days this way, perfect for snacking or sandwiches.
Freezing
If you want to freeze it, slice your loaf before freezing and separate slices with parchment paper in a freezer bag. From my experience, this makes it easy to take out exactly how much you need—thaw slices at room temperature or toast straight from frozen.
Reheating
I reheat leftover bread in a 350°F oven for 5-7 minutes wrapped loosely in foil to soften the crumb, then open the foil in the last minute to crisp up the crust. This little trick restores that freshly baked vibe which makes all the difference.
FAQs
-
Can I use whole wheat flour instead of all-purpose in this overnight sourdough bread recipe?
Absolutely! You can substitute up to 50% whole wheat flour in this recipe for a nuttier flavor and denser texture. Just keep the rest as all-purpose flour to maintain a tender crumb and good rise.
-
Does my sourdough starter have to be fed before making this bread?
Interestingly, I prefer using unfed starter for this recipe as it gives the bread a more pronounced sour flavor. However, you can use fed starter if that’s what you have—just expect a milder tang.
-
Why do I need to fold the dough multiple times during preparation?
Folding strengthens the gluten network, traps air, and improves dough elasticity. This helps create the open, airy crumb and chewy texture that makes sourdough so fantastic.
-
Can I bake this sourdough bread without a Dutch oven?
You can, but using a Dutch oven creates steam that helps the bread rise fully and develop a crispy crust. If you don’t have one, try placing a baking pan with water in the oven to generate steam during the first 20 minutes of baking.
-
How do I know when the bread is fully baked?
The crust will be deeply golden and crisp. If you tap the bottom of the loaf, it should sound hollow. An instant-read thermometer inserted in the center should register around 205°F for fully baked sourdough.
Final Thoughts
This Overnight Sourdough Bread Recipe has become a favorite in my kitchen—not just because it tastes amazing but because it fits effortlessly into a busy lifestyle. I love waking up to the smell of freshly baked bread and knowing I didn’t spend hours fussing over it. If you’ve been wanting to try baking sourdough at home, give this recipe a shot. With just a little patience and love, you’ll be surprised at how easy and rewarding it truly is.
Print
Overnight Sourdough Bread Recipe
- Prep Time: 40 minutes
- Cook Time: 40 minutes
- Total Time: 18 hours 20 minutes
- Yield: 12 servings
- Category: Bread
- Method: Baking
- Cuisine: American
Description
This Easy Overnight Sourdough Bread recipe yields a rustic, flavorful loaf perfect for beginners and seasoned bakers alike. Using a simple mix of sourdough starter, all-purpose flour, salt, and water, the dough undergoes a long, slow fermentation process that develops its signature tangy flavor and chewy texture. The method involves folding the dough to build structure before a final proof in the refrigerator and baking in a preheated Dutch oven for a golden, crisp crust. A perfect bread to enjoy fresh with butter or your favorite toppings.
Ingredients
Ingredients
- 90 grams sourdough starter
- 520 grams all-purpose flour
- 12 grams salt
- 1 7/8 cups water (approximately 445 ml)
Instructions
- Mixing the Dough: The night before baking, combine 520 grams of all-purpose flour, 12 grams of salt, and 90 grams of sourdough starter in a large bowl. Pour in 1 7/8 cups of water and use your hands to mix the ingredients until a wet, rough dough forms. Do not worry about smoothness at this stage.
- Initial Rest and Folding: Cover the bowl with a towel and let the dough rest for 15 minutes. Then perform a series of about 15 folds by grabbing a corner of the dough and folding it over itself, rotating the bowl as you go. Wet your hands slightly to prevent sticking.
- Second Rest and Folding: Cover the bowl again and let it rest for another 15 minutes. Repeat the folding process once more to strengthen the dough.
- Overnight Rise: Cover the dough and leave it to rise at room temperature overnight (approximately 17 hours). The dough will increase in volume and develop air bubbles on the surface.
- Shaping and Folding the Next Morning: Prepare a mixing bowl lined with parchment paper and floured. Wet your hands, loosen the dough from the edges, and gently lift the middle, tucking the ends underneath. Rotate the dough and repeat this process twice more. Transfer the shaped dough onto the prepared bowl and sprinkle flour on top. Refrigerate for 5 hours.
- Preheating the Oven and Dutch Oven: Preheat your oven to 500°F (260°C), preferably using the convection setting. Place a Dutch oven inside to heat along with the oven.
- Scoring and Baking: Remove the dough from the fridge and, using a sharp knife, score the surface with one long center slash and a few smaller side slashes. Use the parchment paper to transfer the dough into the hot Dutch oven.
- Baking with Lid On: Bake the bread with the lid on for 25 minutes to trap steam and develop a crust.
- Baking with Lid Off: Remove the lid, reduce the oven temperature to 450°F (232°C), and bake for an additional 12-14 minutes to brown and crisp the crust.
- Cooling: Take the bread out of the oven and allow it to cool on a rack for at least 1 hour before slicing to let the crumb set properly.
Notes
- You may substitute or experiment with other types of flour, but maintaining a high ratio of all-purpose flour preserves the ideal bread texture.
- Adjust baking times to your preference: bake longer with the lid on for a lighter crust or less time to get a different crust color.
- Some bakers feed their starter 8-12 hours before use, but using an unfed starter here intensifies the sour flavor.
Nutrition
- Serving Size: 1 slice (approximately 70g)
- Calories: 200 kcal
- Sugar: 0.2 g
- Sodium: 300 mg
- Fat: 1 g
- Saturated Fat: 0.2 g
- Unsaturated Fat: 0.6 g
- Trans Fat: 0 g
- Carbohydrates: 42 g
- Fiber: 2 g
- Protein: 6 g
- Cholesterol: 0 mg


