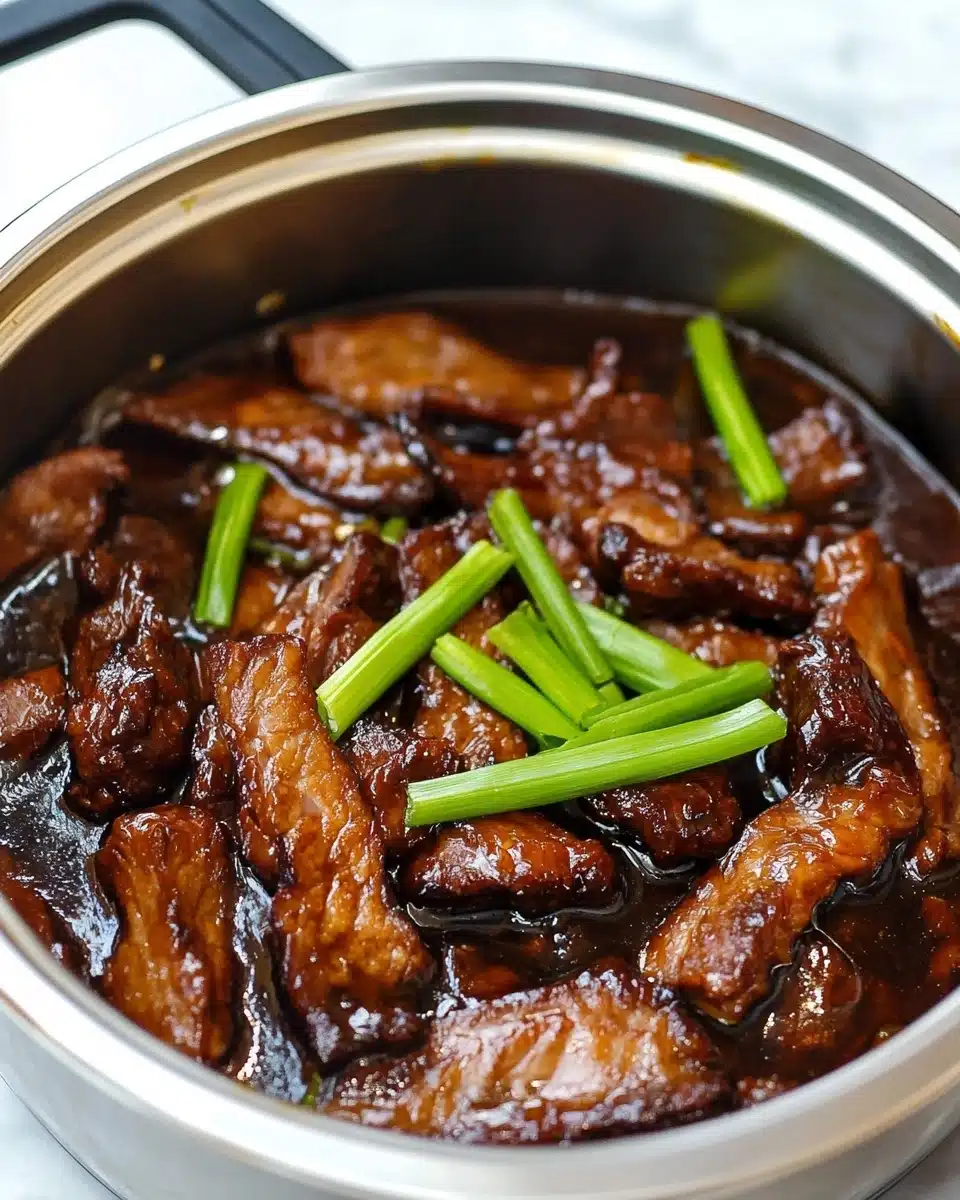
Making takeout-worthy Instant Pot Mongolian Beef at home is easier than you think! This recipe transforms tender slices of flank steak into a gloriously saucy, sweet-salty, and subtly spicy dish—all in a fraction of the usual time, thanks to your trusty Instant Pot.
Why You’ll Love This Recipe
- Incredibly Fast: The Instant Pot turns what’s normally a time-consuming meal into a weeknight-friendly dish, ready in under 40 minutes from start to finish.
- Tender Restaurant-Style Beef: Flank steak becomes melt-in-your-mouth luscious when pressure-cooked, just like your favorite takeout.
- Bold, Balanced Flavors: The homemade sauce brings that signature sweet, savory, and gingery flavor, all without any mystery ingredients.
- Easy to Personalize: Adjust the heat, swap the veggies, or make it gluten-free—this recipe is as versatile as it is delicious!

Ingredients You’ll Need
Don’t be fooled by the short list—these simple ingredients are the backbone of classic Instant Pot Mongolian Beef. Each one plays a key part in creating that glossy, flavor-packed sauce and succulent beef that everyone loves.
- Flank steak: This lean cut soaks up flavor beautifully and turns luxuriously tender in the Instant Pot’s high-pressure environment.
- Cornstarch: Tossing the beef in cornstarch gives it that irresistible crisp edge and naturally thickens the sauce as it cooks.
- Olive oil: Just a bit is used to sear the beef, locking in juices and adding depth.
- Low sodium soy sauce: The salty-sweet backbone for our sauce—using low sodium keeps it from getting overpowering.
- Dark brown sugar: For the authentic sweet molasses flavor Mongolian Beef is known for. You can always use light brown sugar in a pinch!
- Low sodium beef broth: This adds savory umami and helps produce that glossy, clingy sauce we crave.
- Rice vinegar: A splash keeps things bright and balanced, so the sauce never tastes flat or too heavy.
- Sesame oil: Just a drizzle rounds out the dish with an irresistible nutty aroma.
- Fresh ginger & garlic: These two bring pungency and warmth, absolutely key for authentic flavor.
- Crushed red pepper flakes: Add as much or as little as you want for a gentle heat.
- Green onions: Stirred in at the end for a pop of color, freshness, and that classic touch.
- Sesame seeds: Sprinkled over for a last bit of crunch and toasty flavor.
Variations
The beauty of Instant Pot Mongolian Beef is how effortlessly you can customize it to suit your cravings or dietary needs. Don’t be afraid to make it your own—these ideas are just the beginning!
- Add Veggies: Stir in thinly sliced bell peppers, snap peas, or broccoli right after pressure cooking for a pop of color and extra crunch.
- Swap the Protein: You can substitute chicken breast or even tofu for the beef—just adjust the pressure cooking time accordingly.
- Gluten-Free Version: Use tamari or coconut aminos instead of soy sauce, and double-check all your condiments for hidden gluten.
- Make it Extra Spicy: Amp up the crushed red pepper flakes or add a dash of sriracha to really bring the heat!
How to Make Instant Pot Mongolian Beef
Step 1: Slice and Coat the Beef
Start by cutting your flank steak against the grain into thin strips—this is the secret to that signature tenderness. Toss those slices with cornstarch in a bowl, making sure they’re evenly coated, and let them sit for about 10 minutes while you get the rest of your ingredients ready. That short rest helps the cornstarch really adhere and is essential for the final texture!
Step 2: Whisk Up the Sauce
While the beef rests, mix up your Mongolian magic: whisk together soy sauce, brown sugar, beef broth, rice vinegar, sesame oil, ginger, garlic, and red pepper flakes in a bowl. This simple mixture becomes the satiny sauce that makes Instant Pot Mongolian Beef so crave-worthy.
Step 3: Sear the Beef
Turn the Instant Pot to “Sauté” mode and heat a tablespoon of olive oil. Working in batches to avoid overcrowding, sear the beef strips on both sides until they start to brown. This step only takes a few minutes and deepens the flavor tremendously. If your pot gets dry, add a splash more oil between batches.
Step 4: Pressure Cook
Return all seared beef to the Instant Pot and pour your sauce over the top. Secure the lid and set to Manual (High Pressure) for 10 minutes—make sure the valve is set to sealing. When the timer beeps, do a quick release to preserve the meat’s tenderness and keep the sauce nice and glossy.
Step 5: Finish and Serve
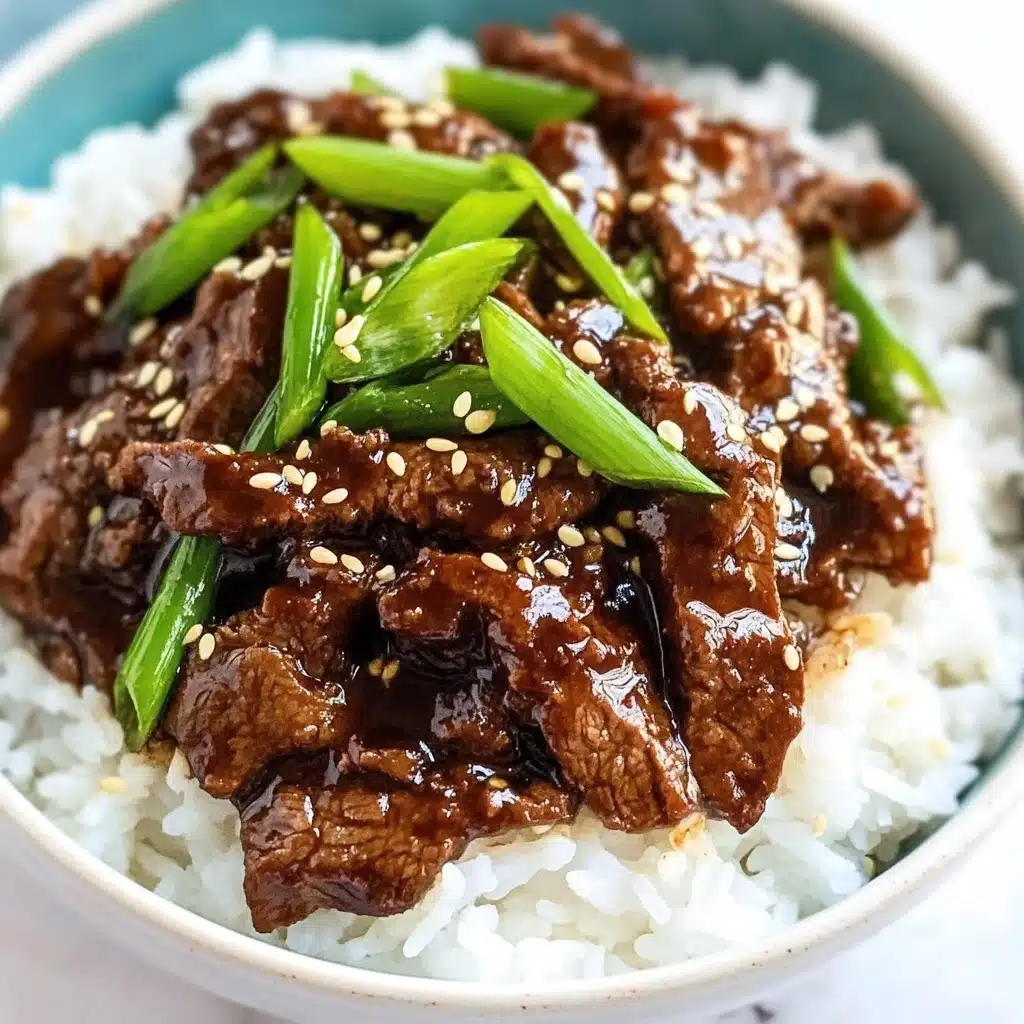
Stir in the green onions right at the end, then sprinkle sesame seeds over each serving. Serve your Instant Pot Mongolian Beef steaming hot over a bed of fluffy rice, spooning plenty of extra sauce on top. Heavenly!
Pro Tips for Making Instant Pot Mongolian Beef
- Slice Steak Thinly and Against the Grain: Thinner slices soak up sauce more easily and create that signature melt-in-your-mouth texture—don’t skip cutting against the grain!
- Don’t Crowd the Pot When Searing: Sear the beef in batches; if you pile it all in at once, it’ll steam instead of browning and you’ll miss out on loads of flavor.
- Quick Release is Key: Use quick release as soon as the timer goes off to prevent overcooking and help the sauce stay silky, not gloopy.
- Taste Before Serving: Give the sauce a taste before serving—you can always balance sweetness or salt with a splash of vinegar or a dash more soy sauce at the end.
How to Serve Instant Pot Mongolian Beef
Garnishes
Finish your Instant Pot Mongolian Beef with a generous shower of sliced green onions and a sprinkle of toasted sesame seeds. For a bold pop of freshness and a little crunch, you can even add a few cilantro leaves or a dusting of chili threads if you want to impress your guests!
Side Dishes
The classic pairing is a bed of steamy white rice—perfect for soaking up every drop of that glossy sauce. But don’t stop there! Brown rice, jasmine rice, or a scoop of cauliflower rice will also work beautifully. Or toss together some quick stir-fried veggies or a cool cucumber salad on the side for balance and crunch.
Creative Ways to Present
If you want to wow a crowd, try serving your Mongolian Beef in lettuce wraps for a playful, hands-on twist. Or pile it generously over crispy noodles for added texture. A pretty, shallow bowl with extra green onion and a drizzle of sauce always looks stunning for weeknight dinners—no takeout box required!
Make Ahead and Storage
Storing Leftovers
Any leftover Instant Pot Mongolian Beef stores super well in an airtight container in the fridge for up to 4 days. The flavors actually deepen a bit overnight, so it’s absolutely delicious for next day lunches!
Freezing
This recipe freezes beautifully. Let it cool completely before transferring to freezer-safe bags or containers. It’ll keep its lovely flavor and texture for up to 2 months—just thaw and reheat for a lightning-fast homemade meal.
Reheating
To reheat, gently warm your Mongolian Beef in a skillet over medium-low heat, adding a splash of water or broth if you need to loosen the sauce. Microwaving in short bursts also works perfectly—just stir halfway through to keep everything evenly heated and silky smooth.
FAQs
-
Can I use a different cut of beef for Instant Pot Mongolian Beef?
Yes! While flank steak is the traditional (and best) choice for tenderness and flavor, you can use sirloin, flat iron, or even thinly sliced chuck if that’s what you have on hand. Just make sure to slice it thinly against the grain for optimal results.
-
Can I make this recipe ahead of time?
Absolutely. Instant Pot Mongolian Beef is a great make-ahead dish—the flavors actually intensify as it sits. Store it in the fridge and reheat gently before serving.
-
Is there a way to make this recipe spicier or milder?
Definitely! Adjust the amount of crushed red pepper flakes to taste, or stir in your favorite chili sauce if you love heat. For a milder version, simply omit the red pepper entirely.
-
Do I need to sear the beef, or can I skip that step?
You can technically skip searing, but a quick browning step adds tons of flavor and keeps the beef’s edges slightly crisp. If you’re in a serious hurry, it will still be delicious without searing—the Instant Pot’s high pressure does most of the work!
Final Thoughts
Once you taste this Instant Pot Mongolian Beef, I guarantee it’ll become a regular in your dinner routine. It’s quick, customizable, and so much better than takeout—your kitchen is about to smell amazing. Give it a go and treat yourself to a restaurant-worthy meal any night of the week!
Print
Instant Pot Mongolian Beef Recipe
- Prep Time: 20 minutes
- Cook Time: 10 minutes
- Total Time: 30 minutes
- Yield: 6 servings
- Category: Main Dish
- Method: Instant Pot, Saute
- Cuisine: Asian
- Diet: Gluten Free
Description
Satisfy your takeout cravings with this flavorful and tender Instant Pot Mongolian Beef. Juicy slices of flank steak coated in a savory sauce with a hint of sweetness, this dish is sure to become a family favorite.
Ingredients
Ingredients for Instant Pot Mongolian Beef:
- 1 1/2 pounds flank steak
- 1/2 cup cornstarch
- 2 tablespoons olive oil
- 3/4 cup low sodium soy sauce
- 3/4 cup dark brown sugar (you can use light brown sugar instead)
- 1/2 cup low sodium beef broth
- 1 tablespoon rice vinegar
- 2 teaspoons sesame oil
- 1 teaspoon minced fresh ginger
- 3 garlic cloves, minced
- 1/2 teaspoon crushed red pepper flakes
- 3 green onions, sliced
- 1 teaspoon sesame seeds
Instructions
- Cut Flank Steak: Cut flank steak against the grain into thin slices. Cut longer slices in half so that they are bite-sized.
- Coat Steak: Place flank steak slices in a medium bowl and add cornstarch. Stir until evenly coated. Let sit for 10 minutes.
- Prepare Sauce: In a medium bowl, mix together soy sauce, brown sugar, beef broth, vinegar, sesame oil, ginger, garlic, and crushed red pepper flakes.
- Sear Steak: Turn Instant Pot to ‘Saute’ mode. Add 1 tablespoon of oil and sear flank steak in batches until browned on both sides. Be cautious not to crowd the flank steak. Hit ‘Cancel’ on the Instant Pot.
- Cook Beef: Return all flank steak to the Instant Pot. Pour sauce over it. Place the lid on and set to Manual (High Pressure) for 10 minutes. Ensure the valve is in a sealing position.
- Release Pressure and Serve: When done, do a quick pressure release. Stir in green onions. Sprinkle with sesame seeds and serve with rice.
Notes
- If preferred, you can sear the flank steak in a large skillet.
Nutrition
- Serving Size: 1 serving
- Calories: 380 kcal
- Sugar: 19g
- Sodium: 780mg
- Fat: 14g
- Saturated Fat: 4g
- Unsaturated Fat: 8g
- Trans Fat: 0g
- Carbohydrates: 31g
- Fiber: 1g
- Protein: 32g
- Cholesterol: 90mg


