If you’re looking for a cozy, delicious fall treat without the fuss of baking, then this No-Bake Pumpkin Pie Recipe is about to become your new favorite. I absolutely love how creamy and fluffy this pie turns out, plus it comes together in a snap—no oven required beyond crisping the crust. Whether you’re a pumpkin spice fanatic or just someone who craves that silky pumpkin goodness, you’re going to want to stick around and try this one out.
Why You’ll Love This Recipe
- No Oven Stress: Just a quick bake for the crust, then you skip all the usual pie-baking hassles.
- Creamy & Fluffy Filling: The melty marshmallows mixed with pumpkin and whipped cream give this pie a dreamy texture.
- Perfect for Last-Minute Guests: You whip this up fast and chill it while you relax or prepare other dishes.
- Family Favorite: My crew goes crazy for this version every fall — it’s become a holiday staple.

Ingredients You’ll Need
This recipe uses simple ingredients you probably already have or can easily find. The graham cracker crust gives just the right amount of crunch, while the pumpkin filling gets its cozy spice blend from cinnamon, nutmeg, and cloves. Don’t skip on the marshmallows—they’re the secret to that luscious texture!

- Unsalted Butter: Melted to bring the graham cracker crumbs together perfectly without overwhelming the flavors.
- Graham Crackers: The base of your crust, finely ground for that sandy texture that bakes up crisp and sturdy.
- Sugar: Adds a subtle sweetness to the crust—just enough to balance the pumpkin filling.
- Kosher Salt: A touch in the crust and filling to enhance all the other flavors.
- Pumpkin Purée: Choose pure pumpkin, not pumpkin pie filling, for the best flavor and texture.
- Cinnamon, Nutmeg, and Cloves: Classic pumpkin pie spices that bring warmth and depth to the filling.
- Marshmallows: Regular or mini marshmallows work—these melt into the pumpkin for an unbelievably creamy consistency.
- Heavy Cream: Whipped to fluffy perfection to lighten the filling and add richness.
- Whipped Cream (for serving): Optional, but highly recommended for that extra creamy topping.
Variations
I love how flexible this No-Bake Pumpkin Pie Recipe is. You can easily tweak it to suit your taste buds or dietary needs. I’ve played around with a few variations over the years, and each one brought something new to the table.
- Make it Dairy-Free: I swapped in coconut cream whipped to stiff peaks and used a dairy-free crust version once—turns out just as dreamy and perfect for my lactose-intolerant cousin.
- Spice it Up: Adding a pinch of ginger or cardamom can give your pie an extra burst of warmth and complexity. I did this last Thanksgiving and my guests kept asking for more.
- Crust Alternatives: While graham cracker crust is classic, I occasionally use crushed gingersnaps or even an almond flour crust for a nutty twist.
- Extra Marshmallow Toast: For a fun finish, I’ve toasted mini marshmallows on top with a kitchen torch—totally elevates the presentation and flavor.
How to Make No-Bake Pumpkin Pie Recipe
Step 1: Create the Perfect Graham Cracker Crust
Start by melting your unsalted butter—just a quick spin in the microwave will do. While it’s melting, blitz the graham crackers in a food processor until they’re fine crumbs, almost like wet sand when combined. Add the melted butter, sugar, and salt, and pulse a few more times to mix everything thoroughly. You want the crumbs to stick together when pressed, so don’t skip on that butter. Press the crust evenly into a 9-inch pie pan, making sure to compact it firmly all around the edges and base. Then bake it at 350°F for 8 minutes until it gets a slight golden glow. Let it cool on a wire rack—you want it crisp but not hard as a rock.
Step 2: Whip Up That Cozy Pumpkin Mixture
Pour the pumpkin purée into a large pot along with the cinnamon, nutmeg, cloves, and kosher salt. Warm it over medium heat, stirring gently until the spices bloom and you can smell their warmth—it only takes about a minute. Then reduce the heat to low and fold in your marshmallows, stirring consistently so they melt smoothly without sticking to the bottom or burning. Once fully melted and combined, transfer this luscious pumpkin-marshmallow mix to a small bowl and pop it in the fridge to cool—about 10 minutes will do.
Step 3: Whip the Heavy Cream to Fluffy Peaks
While your pumpkin mixture chills, pour the heavy cream into a clean, large bowl and start whipping with a hand mixer. Start slow and increase speed as the cream thickens. What you’re after is that perfect fluffy texture where the beaters leave clear marks and firm peaks form when lifted. This step makes the filling light and airy—definitely don’t rush it.
Step 4: Fold Everything Together
Once your pumpkin mixture has cooled to room temperature, gently fold it into the whipped cream using a rubber spatula. The trick here is to keep it light and creamy without deflating all that air you whipped into the cream. A few gentle folds until you have a smooth, streak-free creamy orange pudding-like filling is perfect.
Step 5: Assemble and Chill Your Pie
Scrape your luscious pumpkin filling into the prepared graham cracker crust, smoothing the top with an offset spatula or butter knife. Cover it snugly with plastic wrap and refrigerate for at least 4 hours (or until the center feels firm when you press it). This chilling step lets the filling set and develop its signature texture.
Step 6: Serve and Enjoy!
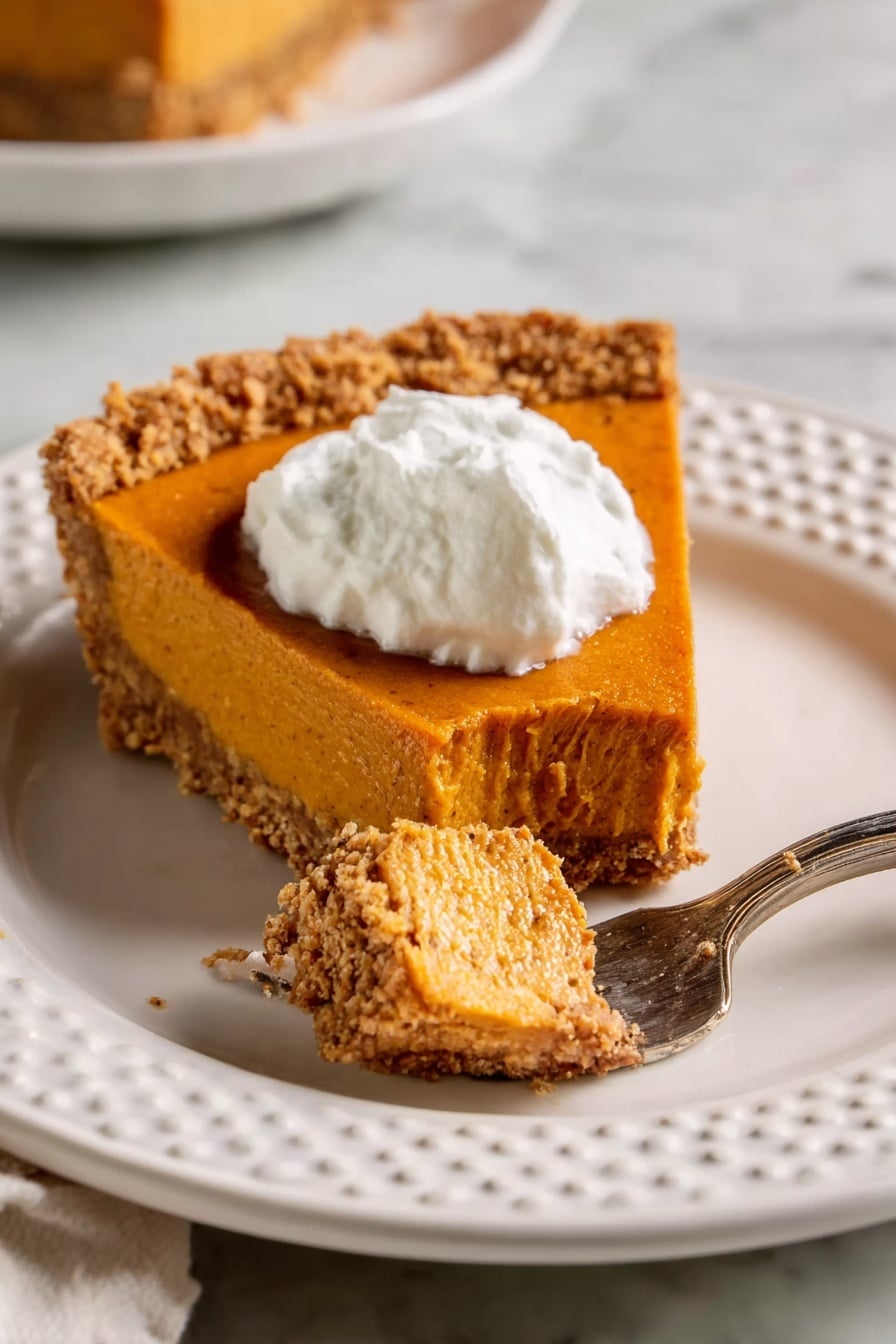
If the plastic wrap left any pattern on the pie’s surface, a quick swipe with a butter knife smooths it right out. Slice into generous pieces and top with a dollop of whipped cream. I promise your family and guests will go wild for this pie—it’s sweet, spiced, and decadently smooth without any heavy baking!
Pro Tips for Making No-Bake Pumpkin Pie Recipe
- Don’t Skip Cooling the Pumpkin Mix: I learned the hard way that mixing hot pumpkin with whipped cream causes deflation—cool it completely for the best fluffy texture.
- Press the Crust Firmly: When you press your crust mixture, do it gently but firmly to avoid crumbling later; I use the bottom of a glass for even pressure.
- Watch Your Marshmallows: Stir continuously on low heat so the marshmallows melt evenly without scorching—patience here pays off big time.
- Serve Chilled, Not Frozen: Keeping the pie refrigerated maintains the creamy texture; freezing changes the consistency and isn’t advised.
How to Serve No-Bake Pumpkin Pie Recipe
Garnishes
I always finish mine with a generous swirl of whipped cream—it balances the spicy pumpkin perfectly. Sometimes I sprinkle a little cinnamon or nutmeg on top for a lovely aroma and extra pop of flavor. For holidays, I like adding some chopped toasted pecans or a drizzle of caramel sauce for a touch of decadence.
Side Dishes
This No-Bake Pumpkin Pie pairs wonderfully with a warm cup of spiced chai or coffee. If you’re serving it at a dinner party, simple vanilla ice cream, roasted autumn veggies, or a fresh green salad lighten the meal and complement the richness.
Creative Ways to Present
For gatherings, I like making mini versions in small jars or ramekins—personal size pies that look so cute and lets guests try more than one dessert. Another time, I toasted mini marshmallows on top with a kitchen torch for that s’mores-inspired take, which was a big hit at a fall bonfire party.
Make Ahead and Storage
Storing Leftovers
I cover leftover pie tightly with plastic wrap and keep it in the fridge. It stays fresh for up to four days, and honestly, I think it tastes even better the next day once the flavors have had more time to mingle.
Freezing
Freezing isn’t my go-to for this pie because the whipped cream and marshmallow filling can get a bit grainy after thawing. I’ve tried it once or twice but prefer to enjoy it fresh or refrigerated instead.
Reheating
This pie is best served cold, so I don’t recommend reheating. If it’s been in the fridge and you want the flavors to shine, just take it out 15 minutes before serving to take the chill off slightly.
FAQs
-
Can I make this No-Bake Pumpkin Pie Recipe vegan?
Absolutely! Use a dairy-free butter substitute for the crust, coconut cream instead of heavy cream, and vegan marshmallows to keep it plant-based. The texture and flavor will still be just fabulous.
-
Is it necessary to bake the crust?
While the crust only bakes for 8 minutes, this step helps it set firmly and develop a slight toasty flavor. You can skip it if you’re really pressed, but the crust may be softer and less stable.
-
Can I use canned pumpkin pie filling instead of purée?
I don’t recommend it because canned pumpkin pie filling already has added sugars and spices, which can throw off the flavor balance. Stick with pure pumpkin purée for the best results.
-
How long can I refrigerate the pie before serving?
The pie is best after chilling for at least 4 hours but can be stored in the fridge for up to four days. Just keep it covered to prevent it from drying out or absorbing other fridge odors.
-
What can I do if my filling is too runny?
If your filling feels runny, it’s usually because the pumpkin mixture was too warm when folded into the whipped cream. Refrigerate the pie longer to help it firm up, or whip a bit more cream to fold in gently for added stability.
Final Thoughts
This No-Bake Pumpkin Pie Recipe has truly become a warm, comforting staple in my home—especially when time is tight but I still want something special to share. It’s light, fluffy, packed with that classic pumpkin spice charm, and just as satisfying as a traditional bake. I can’t wait for you to try it because I know it’s going to win over your friends and family just like it did mine. Give it a whirl next time you want pumpkin pie without the oven hassle—you’re going to love the results!
Print
No-Bake Pumpkin Pie Recipe
- Prep Time: 20 mins
- Cook Time: 8 mins
- Total Time: 4 hrs 28 mins
- Yield: 1 (9-inch) pie, 8 servings
- Category: Dessert
- Method: Baking
- Cuisine: American
Description
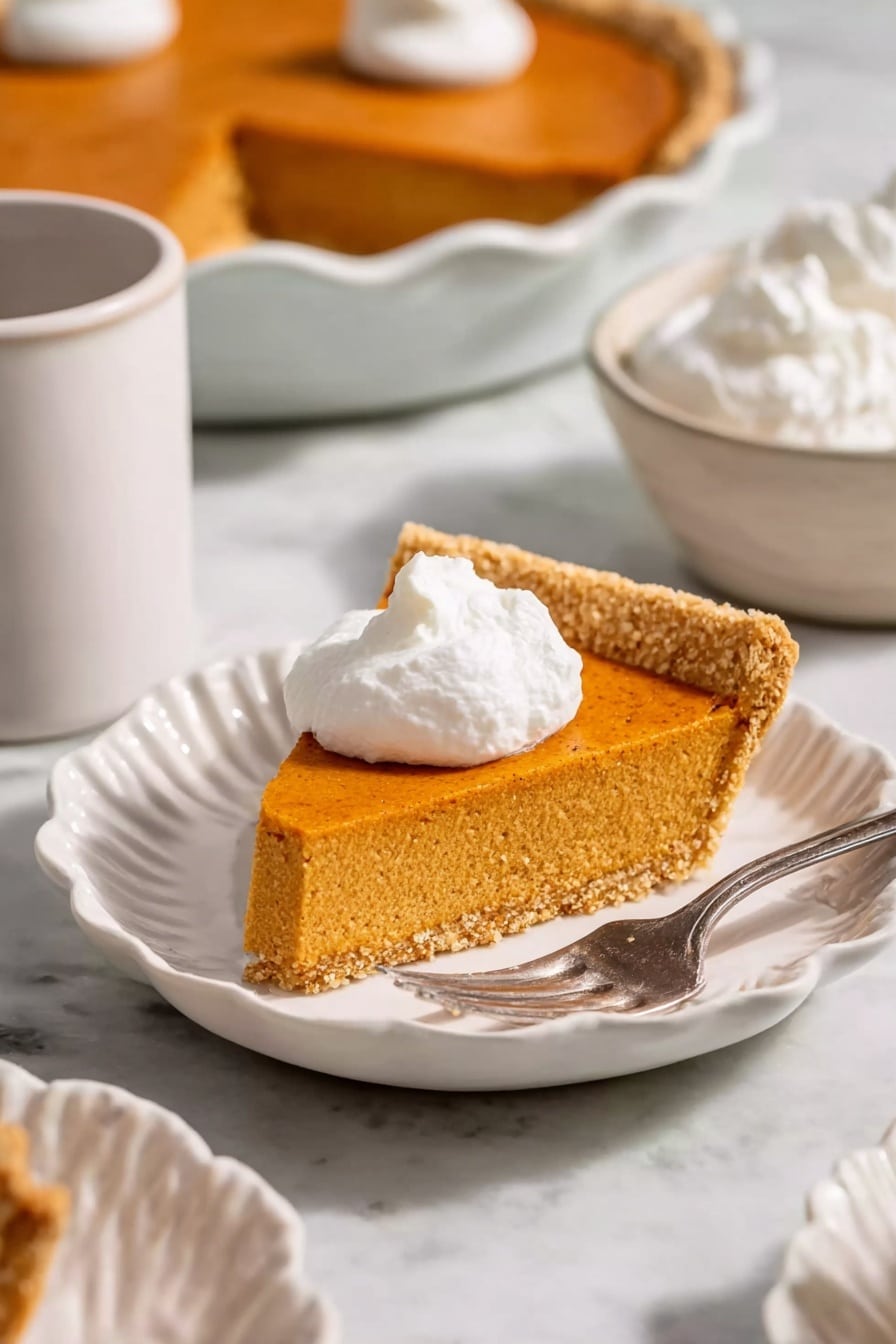
This no-bake pumpkin pie features a crunchy graham cracker crust filled with a creamy, spiced pumpkin filling enriched with melted marshmallows and folded into fluffy whipped cream. Perfect for autumn festivities, this easy recipe requires minimal baking and chilling to deliver a smooth, flavorful dessert that’s light yet indulgent.
Ingredients
Graham Cracker Crust
- 8 tablespoons unsalted butter
- 12 sheets (185g) graham crackers
- 2 tablespoons (28g) sugar
- 3/4 teaspoon kosher salt
Pie Filling
- 1 cup (244g) pumpkin purée
- 1 teaspoon cinnamon
- 1/8 teaspoon nutmeg
- Pinch cloves
- 1/2 teaspoon kosher salt
- 10 ounces marshmallows (49 regular marshmallows or about 5 1/2 cups mini marshmallows)
- 1/2 cup heavy cream
Toppings
- Whipped cream, for serving
Instructions
- Preheat the Oven: Set your oven to 350°F to prepare for baking the graham cracker crust.
- Make the Graham Cracker Crust: Melt the butter in a microwave-safe bowl. In a food processor, pulse graham crackers until finely ground. Add melted butter, sugar, and salt; process until the mixture resembles wet sand. Press this mixture evenly into a 9-inch pie pan, starting with the sides. Bake for 8 minutes until lightly browned, then cool the crust on a rack.
- Prepare the Pumpkin Mixture: In a large pot, combine pumpkin purée, cinnamon, nutmeg, cloves, and salt. Warm over medium heat for about 1 minute until fragrant. Reduce heat to low and fold in marshmallows, stirring constantly until fully melted and incorporated. Transfer to a bowl and refrigerate to cool.
- Whip the Cream: Pour heavy cream into a large bowl and whip using a hand mixer. Start at low speed and gradually increase to high, whipping until the cream is fluffy and holds firm peaks.
- Combine Filling: Once the pumpkin mixture has cooled to room temperature, gently fold it into the whipped cream using a rubber spatula. Mix until no streaks remain and the filling is a creamy orange consistency similar to pudding.
- Assemble the Pie: Pour the pumpkin filling into the cooled graham cracker crust and spread evenly using a spatula or butter knife.
- Chill the Pie: Cover the pie with plastic wrap and refrigerate for at least 4 hours, until the filling is firm to the touch.
- Serve and Store: Smooth the top if needed before slicing. Serve chilled with additional whipped cream. Store any leftovers covered in the refrigerator for up to 4 days.
Notes
- Using mini marshmallows can help melt the filling more evenly and quickly.
- Chilling the pie is essential to set the filling and achieve the right texture.
- The whipped cream in the filling and topping adds lightness to balance the dense pumpkin mixture.
- For a gluten-free version, substitute gluten-free graham crackers.
- Do not skip baking the crust to ensure it holds together well.
Nutrition
- Serving Size: 1 slice (1/8 of pie)
- Calories: 320
- Sugar: 25g
- Sodium: 180mg
- Fat: 20g
- Saturated Fat: 12g
- Unsaturated Fat: 7g
- Trans Fat: 0g
- Carbohydrates: 29g
- Fiber: 2g
- Protein: 3g
- Cholesterol: 55mg

