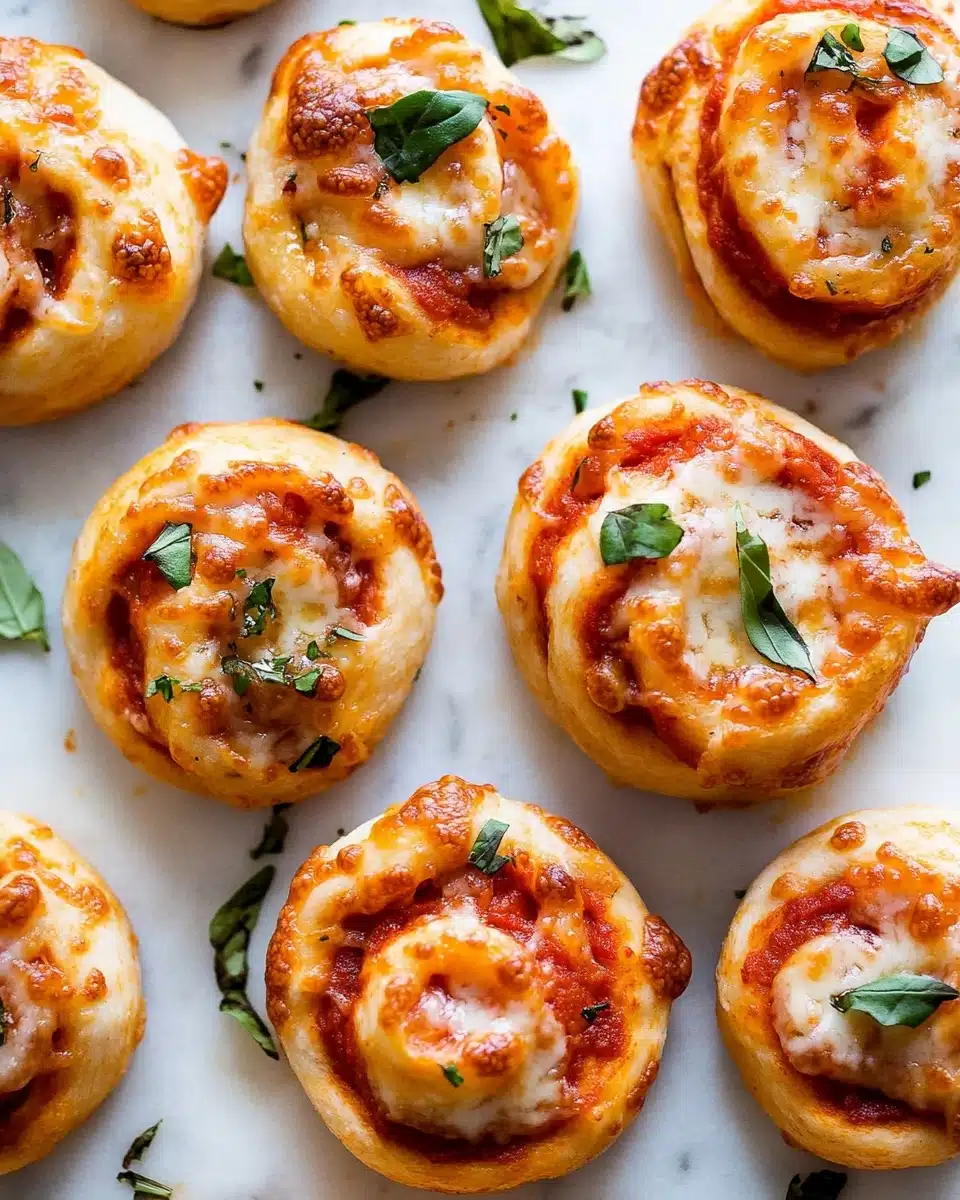
When you need a snack that’s downright irresistible and guaranteed to disappear in minutes, Pepperoni Pizza Rolls are always the answer. Golden on the outside, gooey and savory on the inside—these bite-sized delights combine the classic flavors of pepperoni pizza with the joy of fresh, pull-apart bread. Get ready to fall in love with your new favorite shareable treat!
Why You’ll Love This Recipe
- Crowd-Pleasing Flavor: With melty mozzarella, spicy pepperoni, and tangy pizza sauce, every roll tastes like a mini pizza party.
- Perfectly Portable: These Pepperoni Pizza Rolls are made for game day, potlucks, or lunchboxes—no mess, no fuss, just grab and go!
- Fun to Make & Customize: Rolling up the dough is a blast, and you can easily tailor each batch to suit any taste or occasion.
- Crispy, Cheesy, Satisfying: The combo of crispy cornmeal base and gooey cheese is a guaranteed win every time.

Ingredients You’ll Need
Simple and familiar ingredients are what makes these Pepperoni Pizza Rolls extra inviting. Each element adds something special—from the pillowy dough to the bubbling cheese—so don’t skip a thing!
- Homemade pizza dough: The soft, chewy base that soaks up all the delicious flavors. You can use store-bought, but nothing beats homemade!
- Olive oil: Brushed on the dough for extra richness and to preserve a tender, golden crust.
- Pizza sauce: Brings a bright, tangy kick and keeps the rolls juicy. Homemade or your favorite jarred sauce works perfectly.
- Italian seasoning or ground basil: Infuses the rolls with herby aromas and classic Italian flair.
- Garlic powder: Adds just the right kiss of savory, irresistible depth.
- Mozzarella cheese: Melts into gooey perfection in every single bite. Go for a good-quality shredded mozzarella.
- Pepperoni slices: The star! Salty, spicy, and utterly satisfying nestled into the cheesy filling.
- Yellow cornmeal (optional): Pressed onto the bottoms, this gives the rolls a slightly crunchy, bakery-style finish.
- Extra mozzarella & fresh basil (optional): For topping your finished rolls with more melty goodness and a pop of color.
Variations
Part of the magic of Pepperoni Pizza Rolls is how endlessly tweakable they are. Feel free to swap in your favorite toppings, cheeses, or seasonings to make these rolls truly your own!
- Veggie Supreme: Add chopped bell peppers, mushrooms, or black olives for a garden-fresh twist.
- Cheese Lovers: Mix in shredded provolone, Monterey jack, or Parmesan for an extra melty cheese explosion.
- Spicy Kick: Sprinkle in crushed red pepper flakes or use spicy pepperoni for those who like a touch of heat.
- Gluten-Free: Use your favorite gluten-free pizza dough so everyone can dive into these delicious rolls.
How to Make Pepperoni Pizza Rolls
Step 1: Prepare and Roll Out the Dough
Once your pizza dough has risen and is beautifully airy, give it a gentle punch to deflate, then divide it in half. Roll each half into a large 10×12-inch rectangle on a lightly floured surface. A little elbow grease here guarantees soft, even rolls!
Step 2: Season, Sauce, and Fill
Brush each dough rectangle with olive oil—this layer works magic to lock in moisture and flavor. Use your fingertips to dimple the dough (prevents bubbling!), then spread a generous layer of pizza sauce over each rectangle. Sprinkle with Italian seasoning, garlic powder, mozzarella, and arrange pepperoni slices for delicious, even coverage.
Step 3: Roll, Chill, and Slice
Carefully roll up each rectangle into a tight log, tucking the toppings securely inside. Place both logs seam-side down on a lined baking sheet and refrigerate, uncovered, for at least 20 minutes. Chilling helps the logs hold their shape and makes slicing neat, picture-perfect rolls a breeze.
Step 4: Slice and Add Crunch
After chilling, cut each log into 12 even slices. If you adore a crisp base, dip the cut side of each roll in cornmeal before arranging them on lined baking sheets. This bakery-style secret makes the bottoms extra crispy.
Step 5: Bake to Golden Perfection
Bake your Pepperoni Pizza Rolls at 400°F for 15–20 minutes, or until the sides are golden and the cheese is bubbling. Add more mozzarella or a sprinkle of basil in the final few minutes for a gorgeous finish. Let them cool for just a few minutes—then grab, dip, and devour!
Pro Tips for Making Pepperoni Pizza Rolls
- Dough Matters: Use well-risen, slightly sticky homemade dough—it’s the secret to soft, pillowy pizza rolls that bake up tender every time.
- Cold Slice, Clean Slice: Don’t skip the fridge chill! Slicing the logs cold ensures neat, bakery-worthy spirals that stay together in the oven.
- Cornmeal Crunch: For bakery-style bottoms, dip each roll in cornmeal before baking—your friends will rave about that delicious crispy edge!
- Cheese Strategy: Don’t overfill with cheese, or it might leak out—just enough for a gooey center is perfect (plus you can always sprinkle extra on top!).
How to Serve Pepperoni Pizza Rolls

Garnishes
Top your Pepperoni Pizza Rolls with fresh basil leaves for color and fragrance, or throw on a dash of extra mozzarella for extra melty, bubbly cheese. A sprinkle of grated Parmesan or red pepper flakes never hurts, especially when you want a little gourmet flair on your platter!
Side Dishes
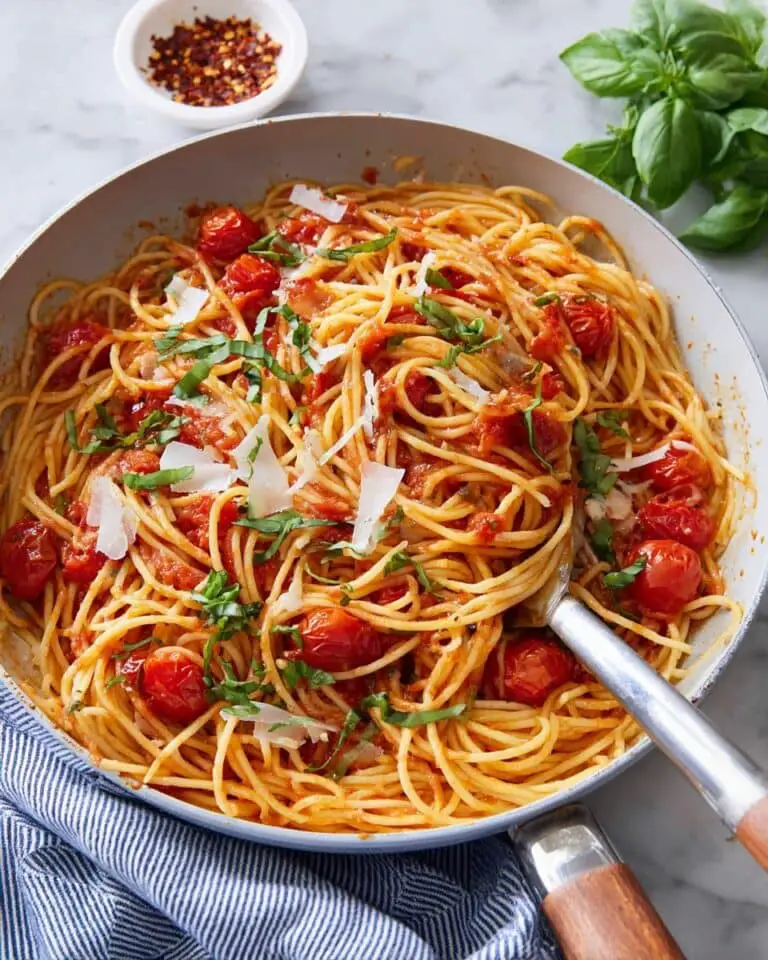
Pair your warm pizza rolls with a crisp Italian salad or garlic knots for a round-out meal. They’re also amazing with bowls of marinara, ranch, or even pesto for dipping—be prepared for lots of requests for “just one more!”
Creative Ways to Present
Turn your Pepperoni Pizza Rolls into a party center—pile them high on a wooden board with little ramekins of sauce, or serve on a pizza paddle for a fun twist. Thread a few on skewers for a playful appetizer tray at gatherings, or arrange in a spiral pattern to wow your guests visually.
Make Ahead and Storage
Storing Leftovers
If you’re lucky enough to have leftovers, stash your Pepperoni Pizza Rolls in an airtight container in the refrigerator. They keep nicely for about 3 days—perfect for when hunger strikes!
Freezing
These pizza rolls freeze beautifully. Let them cool completely, then freeze in a single layer on a baking sheet before transferring to a zip-top bag. They’ll stay fresh for up to 2 months and reheat just as deliciously as day one.
Reheating
To enjoy that oven-fresh flavor and texture, reheat in a 350°F oven for about 10 minutes—or just long enough for the cheese to get gooey again and the edges to crisp up. The microwave works in a pinch, but the oven is your friend for reviving that fresh-baked vibe.
FAQs
-
Can I make Pepperoni Pizza Rolls ahead of time?
Absolutely! After shaping and slicing, you can chill the rolls in the fridge for up to a day before baking. Bake straight from the refrigerator—just add a couple of extra minutes to the baking time if needed.
-
What’s the best way to keep the rolls from getting soggy?
Brushing olive oil on the dough and not overloading on sauce are the key tricks. The quick chill before baking also helps set the rolls so they bake up crispy, not soggy.
-
Can I use store-bought pizza dough?
Definitely! Store-bought dough is a fantastic shortcut, especially for busy nights or when you want to whip these up extra quickly. Just let it come to room temperature before rolling out for best results.
-
How do I keep the filling from leaking out?
Roll the dough tightly and avoid overfilling with cheese or sauce. Press seams together well and always bake with the seam side down—chilling the logs beforehand is another big help.
Final Thoughts
Whenever you’re craving pizza in a fresh, poppable package, Pepperoni Pizza Rolls are the answer. I promise they’ll bring smiles, messy fingers, and a whole lot of joy to your table—so don’t wait to bake a big batch and share with your favorite people!
Print
Pepperoni Pizza Rolls Recipe
- Prep Time: 1 hour, 45 minutes
- Cook Time: 20 minutes
- Total Time: 2 hours, 10 minutes
- Yield: 24 rolls
- Category: Appetizer
- Method: Baking
- Cuisine: Italian
- Diet: Vegetarian
Description
These Pepperoni Pizza Rolls are a fun twist on traditional pizza, featuring all the classic flavors rolled up into a convenient and delicious appetizer or snack.
Ingredients
Pizza Dough:
- 1 recipe homemade pizza dough*
Filling:
- 2 teaspoons olive oil
- 2/3 cup pizza sauce (homemade or store-bought)
- Italian seasoning or ground basil, to taste
- Garlic powder, to taste
- 1 cup shredded mozzarella cheese
- 60-65 pepperoni slices
- Optional: 1/2 cup yellow cornmeal
- Optional: extra mozzarella cheese and fresh basil
Instructions
- Prepare Pizza Dough: Make the pizza dough recipe and roll out into rectangles.
- Add Filling: Brush with olive oil, spread sauce, seasonings, cheese, and pepperoni.
- Roll the Dough: Roll up the rectangles tightly into logs.
- Chill and Slice: Chill the logs, then slice and dip in cornmeal.
- Bake: Bake until golden brown, then serve hot with fresh basil and extra sauce.
Notes
- For a vegetarian version, swap the pepperoni for sautéed vegetables.
- Experiment with different fillings like ham and pineapple for a Hawaiian twist.
- These pizza rolls are great for parties or game day gatherings.
Nutrition
- Serving Size: 1 roll
- Calories: 180
- Sugar: 2g
- Sodium: 380mg
- Fat: 8g
- Saturated Fat: 3.5g
- Unsaturated Fat: 4.5g
- Trans Fat: 0g
- Carbohydrates: 20g
- Fiber: 1g
- Protein: 7g
- Cholesterol: 20mg


